

In this article
Laravel features and functionality
In addition to the functionality mentioned above, Laravel has more features that make web development easier and faster. Some of these features are:
Prerequisites
- A web server.
- A GitHub, GitLab or Bitbucket account to publish your application's code.
- Laravel installed.
Make sure the Apache and MySQL module services are running.
Create a New Laravel Project
- Go to your machine's terminal or command-line interface (CLI).
- Create a Laravel project called blog using the command
laravel new blog. - Open your project's blog directory with the command
cd blog. - Next, open the directory in your code editor.
- To check that you have built the project correctly, run
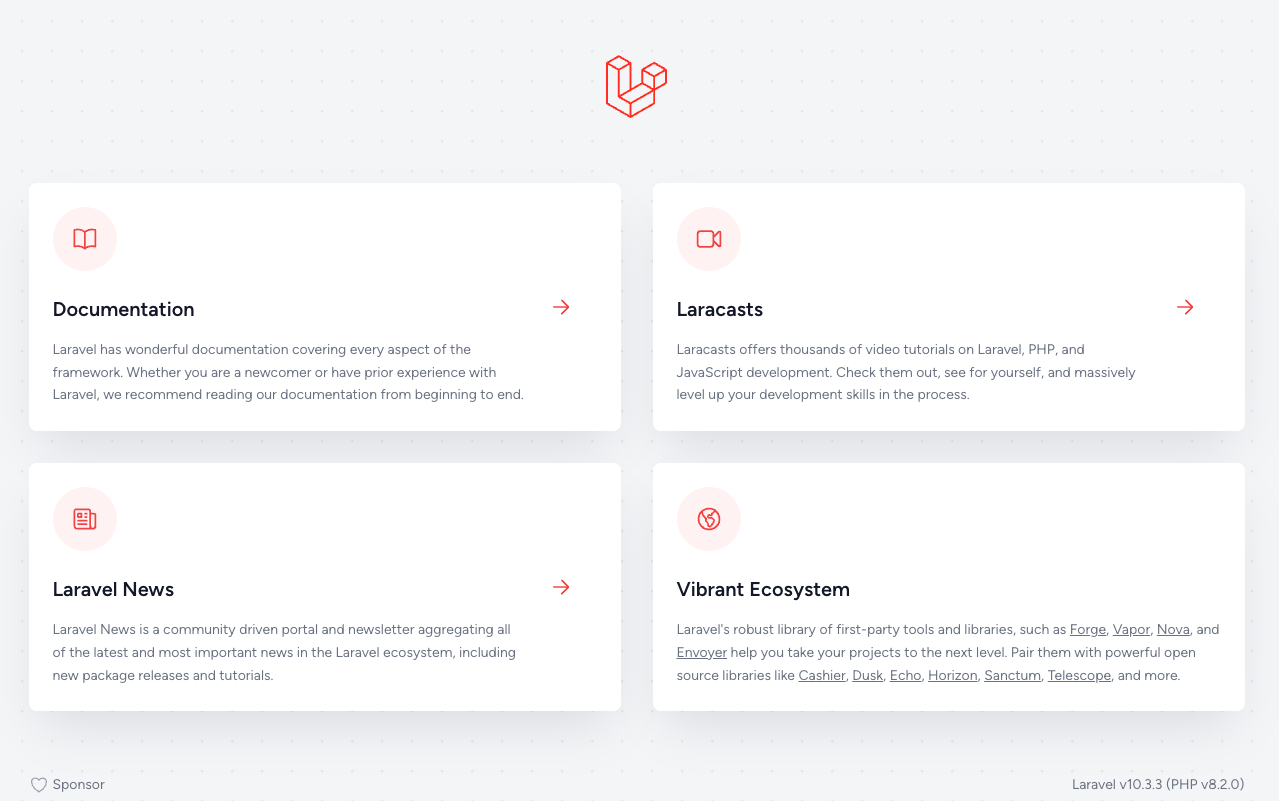
php artisan servein your terminal or CMD. - Click the local address output to view it in the browser. The browser should display the default Laravel welcome page, shown below:
Set up the database
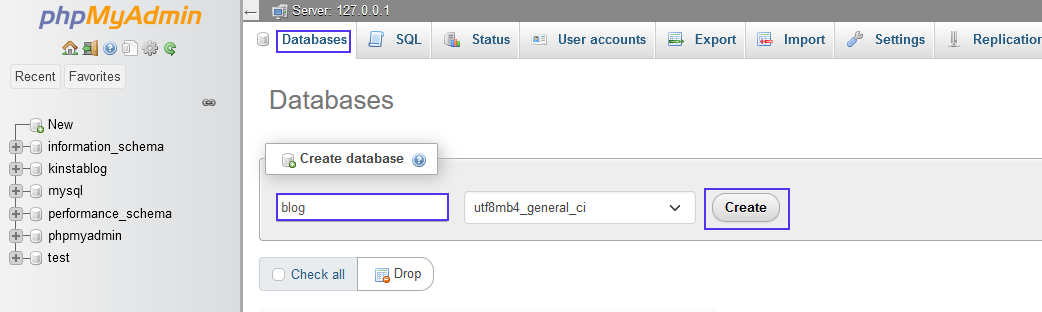
Create and configure the database by going back to phpMyAdmin in your browser and creating a database called blog.
- To create the database, in the Databases tab, type «blog» in the Create database field.
- Then click Create.
- Next, update the database connection in your .env file at the root of your blog project. Change the
DB_DATABASEandDB_PASSWORDvalues to the ones you created.
The connection details should look like this.

The other database connection details remain the same as in the .env file. If you change any connection value, such as changing DB_PORT from 3306 to 3307 during setup, make sure to update it in the .env file.
Creating Migrations
Migrations in Laravel are about designing the tables of our database, and although we could create our table directly in MySQL and then create the controller and the model, we are going to do it using migrations. What is the difference? The difference is that with migrations you design the tables as if they were models and then you can generate them in MySQL with a single command. You can also keep a chronology of the creation of your tables, and if something went wrong, for example you forgot to create a field, you can easily do a rollback and undo the changes. But to make it clearer, let's go to the example.
The table we are going to create for the example will be called Artists and will contain the fields: name, description. To create the table we create a migration file. To do this, we go to the command window opened earlier and use the following command:

You will notice that a new file has now been created inside the database->migratios folder
2018_01_26_035203_create_artists_table.php.
It is a class that inherits from the Migration class. In this class we define the fields the Artists table will contain. This class has two methods: dow, which is called when we run a rollback, and up, which is where we will create the fields for our table. The file should look as shown below:

Now all that is left is to run the migration so that our artists table is created. To do this, we run the following command:

All that remains is to check the artists table. For this you can use phpMyadmin, or if you use MySQL Workbeanch you can see that the libros table was indeed created along with other additional ones.
As I mentioned, in certain cases you may want to add a field to a table that has already been created. You can simply do a rollback, which in this case deletes the tables created with the migrations, leaving the database empty without any tables. You can try the following command and see what happens:

If you check the database again, you will notice that it has returned to its initial state, and since this command was only for testing, you must run the migrate command again to create the artists table.
Related Articles
Keep exploring similar content.

Introduction to HTML5: Fundamentals for Building Modern Websites
Learn the basics of HTML5 and discover how to structure and design interactive, mobile-friendly web pages.

The Latest Web Development Trends: Innovation and Creativity
Explore the latest trends and advances in web development. Discover how innovation and creativity are transforming the way websites are built and designed in the digital age.

Cybersecurity for SMEs in Ecuador: Comply with the LOPDP and Cybersecurity Law
SMEs in Ecuador face new legal obligations with the enforcement of the LOPDP and the recent Organic Law for Strengthening Cybersecurity. This article explains how to comply with these regulations to protect personal data and avoid penalties.